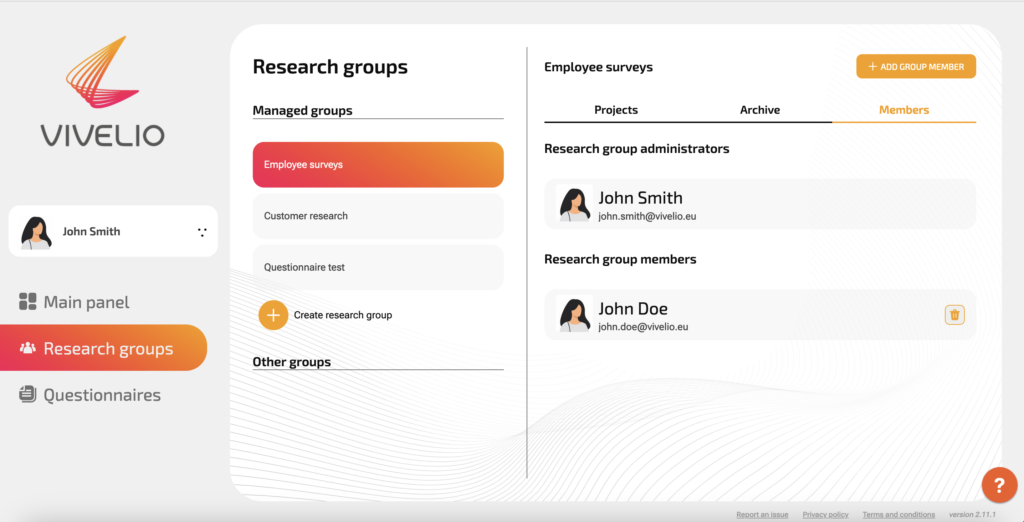
Within a study group, you can also manage its members. This is the third tab that appears when you select any research group from the list.
1. To see who is part of the research group members, click the “Members” button.

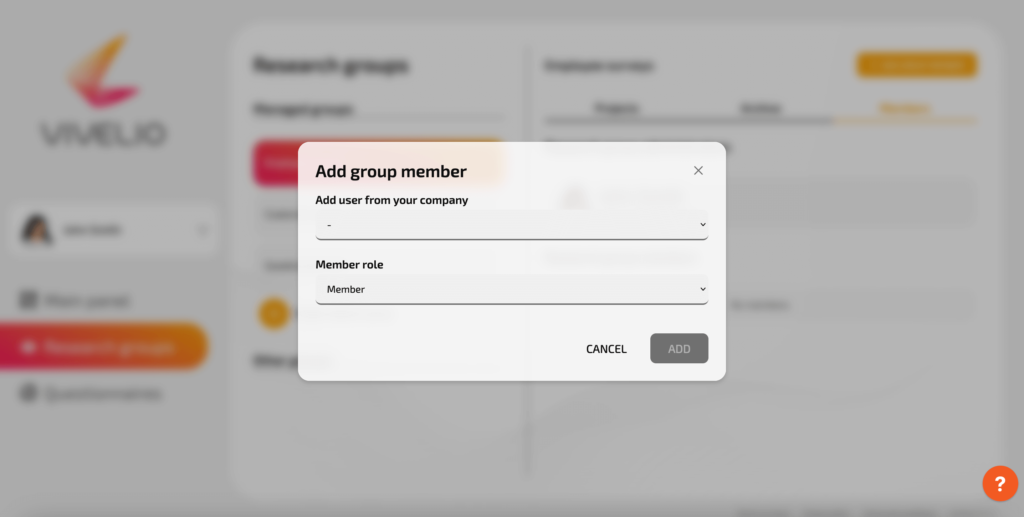
2. To add a new member to an existing research group, click the “Add member” button, then select one of the people who are in your organization. Then assign a role to the new member, he/she can remain a regular user or an administrator of the study group.

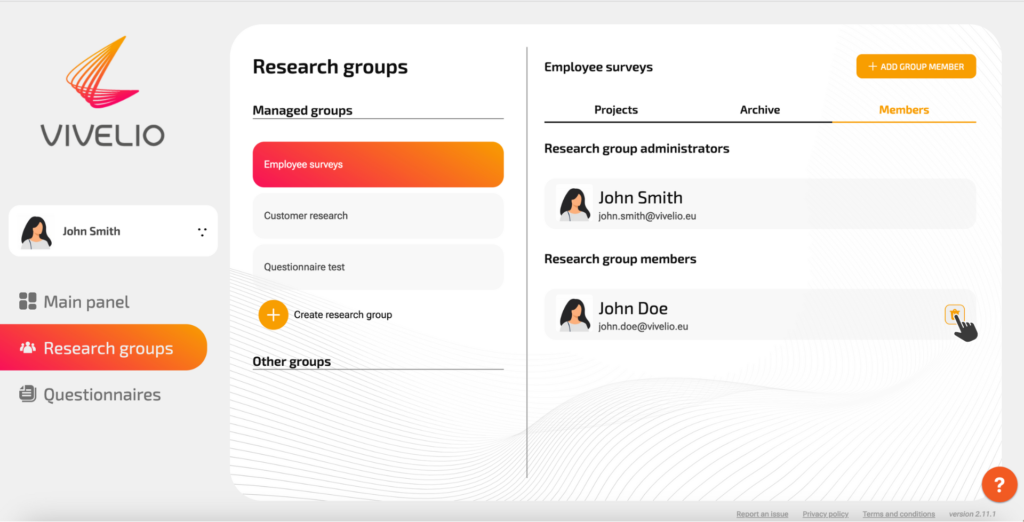
3. To remove an organization member already added to a study group, press the button with the “Trash” symbol assigned to the selected individual. The button is located on the right side of the screen.

A study group allows you to grant access to a given questionnaire to other members of your organization who are part of it. When a questionnaire is created outside a research group, only the creator sees the questionnaire in the questionnaire field and is able to view and edit it.
